Some Java language and ecosystem knowledge given, it’s not that hard to write your own plugin for the open source logging platform „Graylog“.
There is a good documentation available at docs.graylog.org/en/2.4/pages/plugins.html, although some infos and example GIT repos seem to be a bit out of date currently, maybe due to the fact that Graylog 3 is around the corner.
Preparations
Besides git and maven, you should install the free IntelliJ IDEA CE – I tried with Eclipse and Visual Studio Code first, but didn’t get everything working there.
You will also need ElasticSearch and MongoDB running locally – the easiest way usually is with Docker – you can just create a docker-compose.yml file and fire up two containers, e.g.:
version: '3.1'

services:
  mongo:
    image: mongo
    restart: always
    ports:
      - 27017:27017

  mongo-express:
    image: mongo-express
    restart: always
    ports:
      - 8081:8081

  elasticsearch:
    image: elasticsearch:5.6
    restart: always
    ports:
      - 9200:9200
      - 9300:9300
and run „docker-compose up -d“ to launch.
Once those tools are setup, you are going to need two different repositories to start:
First, install the Graylog Project Cli from github.com/Graylog2/graylog-project-cli
After that follow the README at
github.com/Graylog2/graylog-project
and bootstrap a new Graylog project with:
graylog-project bootstrap github://Graylog2/graylog-project.gitThis will boostrap the latest „master“ version of Graylog, currently this is 3.0.0-alpha.5. If you want a different, e.g. the latest stable version, add the „manifest“ parameter (see here), e.g.:
--manifest="manifests/2.5.json"Now comes the first caveat – there is no „scripts“ dir anymore inside „graylog-project“ (see github.com/Graylog2/documentation/issues/473), which you’ll need later on to create some boilerplate code for your new plugin. I assume this is going to be fixed / replaced once Graylog 3 is final. So currently you need to get the „scripts“ from an older branch at github.com/Graylog2/graylog-project/tree/pre-graylog-project-cli
You can just download the branch as zip and extract the „scripts“ folder into your „graylog-project“ dir which was created in the step before.
UPDATE: you can get along without the „scripts“ dir to generate a new plugin (see e.g. here), simply use Maven directly. Inside the folder „graylog-project-repos“, open a terminal and enter:
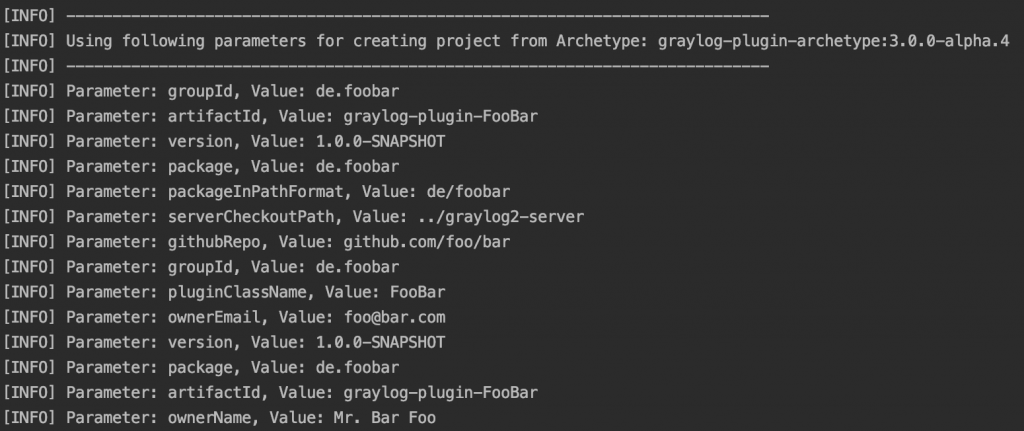
mvn archetype:generate -DarchetypeGroupId=org.graylog -DarchetypeArtifactId=graylog-plugin-archetypeand enter the required plugin info. (You will still need to fix the plugin path in the main project POM and the parent project version and yarn.version variable in the plugin POM, see below.)
Continue following the README and import the „graylog-project“ as a new IntelliJ project and also create a new „Run“ configuration as explained.
After that, open the IntelliJ terminal window (or an external console if you prefer), change to the „graylog-project“ folder and run „maven clean install“ to generate and store all required project artifacts, otherwise you won’t be able to run your plugins‘ maven targets later because of missing dependency jar files, e.g. for graylog-server.jar
Finally, create a „graylog.conf“ file as explained here. Remember you have to fill at least two variables in there: password_secret and root_password_sha2. See the comments in „graylog.conf“ how to set those.
Creating your own plugin
If you have „installed“ the „scripts“ folder and didn’t use Maven to generate the plugin (see above), open „scripts/includes“ now and change „modulesPrefix“ to:
modulesPrefix=../graylog-project-reposso that the „bootstrap-plugin“ command can find its dependencies. To create a new plugin skeleton now, stay in the „graylog-project“ folder and run:
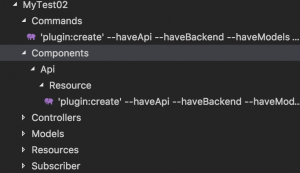
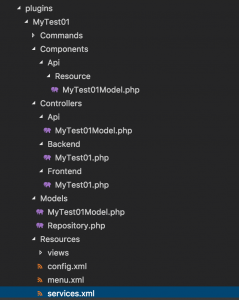
scripts/bootstrap-plugin your-plugin-nameand enter the info requested, e.g.:
You can ignore the build and „file not found“ errors at the end for now – the script still has some path problems and there is no file „build.config.js.sample“, but it should have generated your new plugin folder and files.
Now move the newly created „graylog-plugin-your-plugin-name“ folder one level above into the „graylog-project-repos“ folder (if you’ve used Maven to generate the plugin, it should already be there, see above!).
Now, for both cases (Maven or „scripts“), adjust the „graylog-project/pom.xml“ file from
<module>graylog-plugin-your-plugin-name</module>to
<module>../graylog-project-repos/graylog-plugin-your-plugin-name</module>(or add the entry if not there) and you should see it in your IntelliJ project folders. Also in „graylog-project-repos/graylog-plugin-your-plugin-name/pom.xml“ fix the version for „graylog-plugin-web-parent“ –
for me, it was „3.0.0-alpha.3-SNAPSHOT“ although I was on Alpha 5 (check the version you are working with and change accordingly):
<parent>
    <groupId>org.graylog.plugins</groupId>
    <artifactId>graylog-plugin-web-parent</artifactId>
    <version>3.0.0-alpha.5-SNAPSHOT</version>
    <relativePath>../graylog2-server/graylog-plugin-parent/graylog-plugin-web-parent</relativePath>
</parent>
And, to finish it, in that same file change the following line, otherwise IntelliJ gives you the error: „Element yarn.version is not allowed here“ – that’s probably some typo in the boilerplate code.
<!--
<yarn.version>${yarn.version}</yarn.version>
change to -->
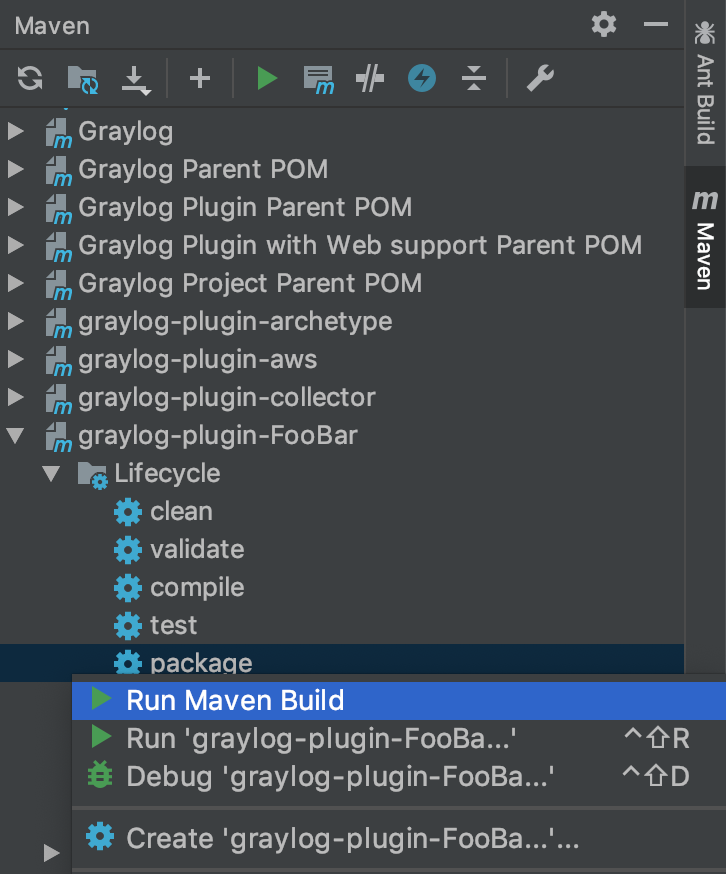
<yarnVersion>${yarn.version}</yarnVersion>Now everything should be green in your IDE and you can e.g. run „mvn package“ for your plugin or do the same inside IntelliJ – in the „Maven“ Tab, first hit the left double arrows icon on top to „Reimport All Maven Projects“, then expand your new plugin, expand „Lifecycle“ and right click on „package“ to select „Run Maven Build“:
If all goes well, you should get the message „Process finished with exit code 0“ and you will find a newly created *.jar file in the „target“ directory of your plugin folder. All that is left to do is copy it over to the „graylog-project-repos/graylog2-server/plugins“ folder (create it if it is not there yet) – this location is defined in „graylog-project-repos/graylog2-server/graylog.conf“.
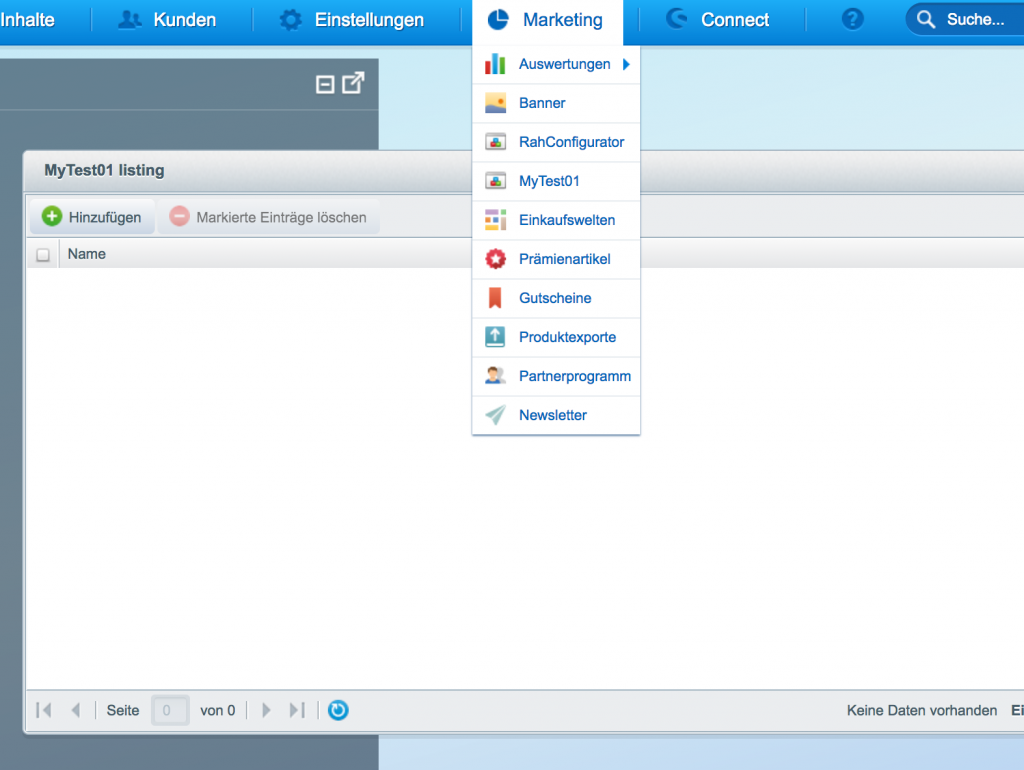
After that, start your new „Run configuration“ in IntelliJ to fire up the Graylog server and watch the logs if your plugin shows up. For the web interface, change to „graylog2-server/graylog2-web-interface“ and run
./node/yarn/dist/bin/yarn startSee also github.com/Graylog2/graylog-project#web-interface-start
That should get you started – at least this is how I was able to get my „Json Remote Polling“ Input plugin working. To get an overview of plugin types, check out docs.graylog.org/en/2.4/pages/plugins.html#plugin-types. For details on what’s inside a Graylog plugin see docs.graylog.org/en/2.4/pages/plugins.html#the-anatomy-of-a-plugin. Happy logging! 🙂